
Affiliate Disclosure: This post contains affiliate links. If you purchase through one of these links, I may earn a commission at no additional cost to you. As an Amazon Associate I earn from qualifying purchases.
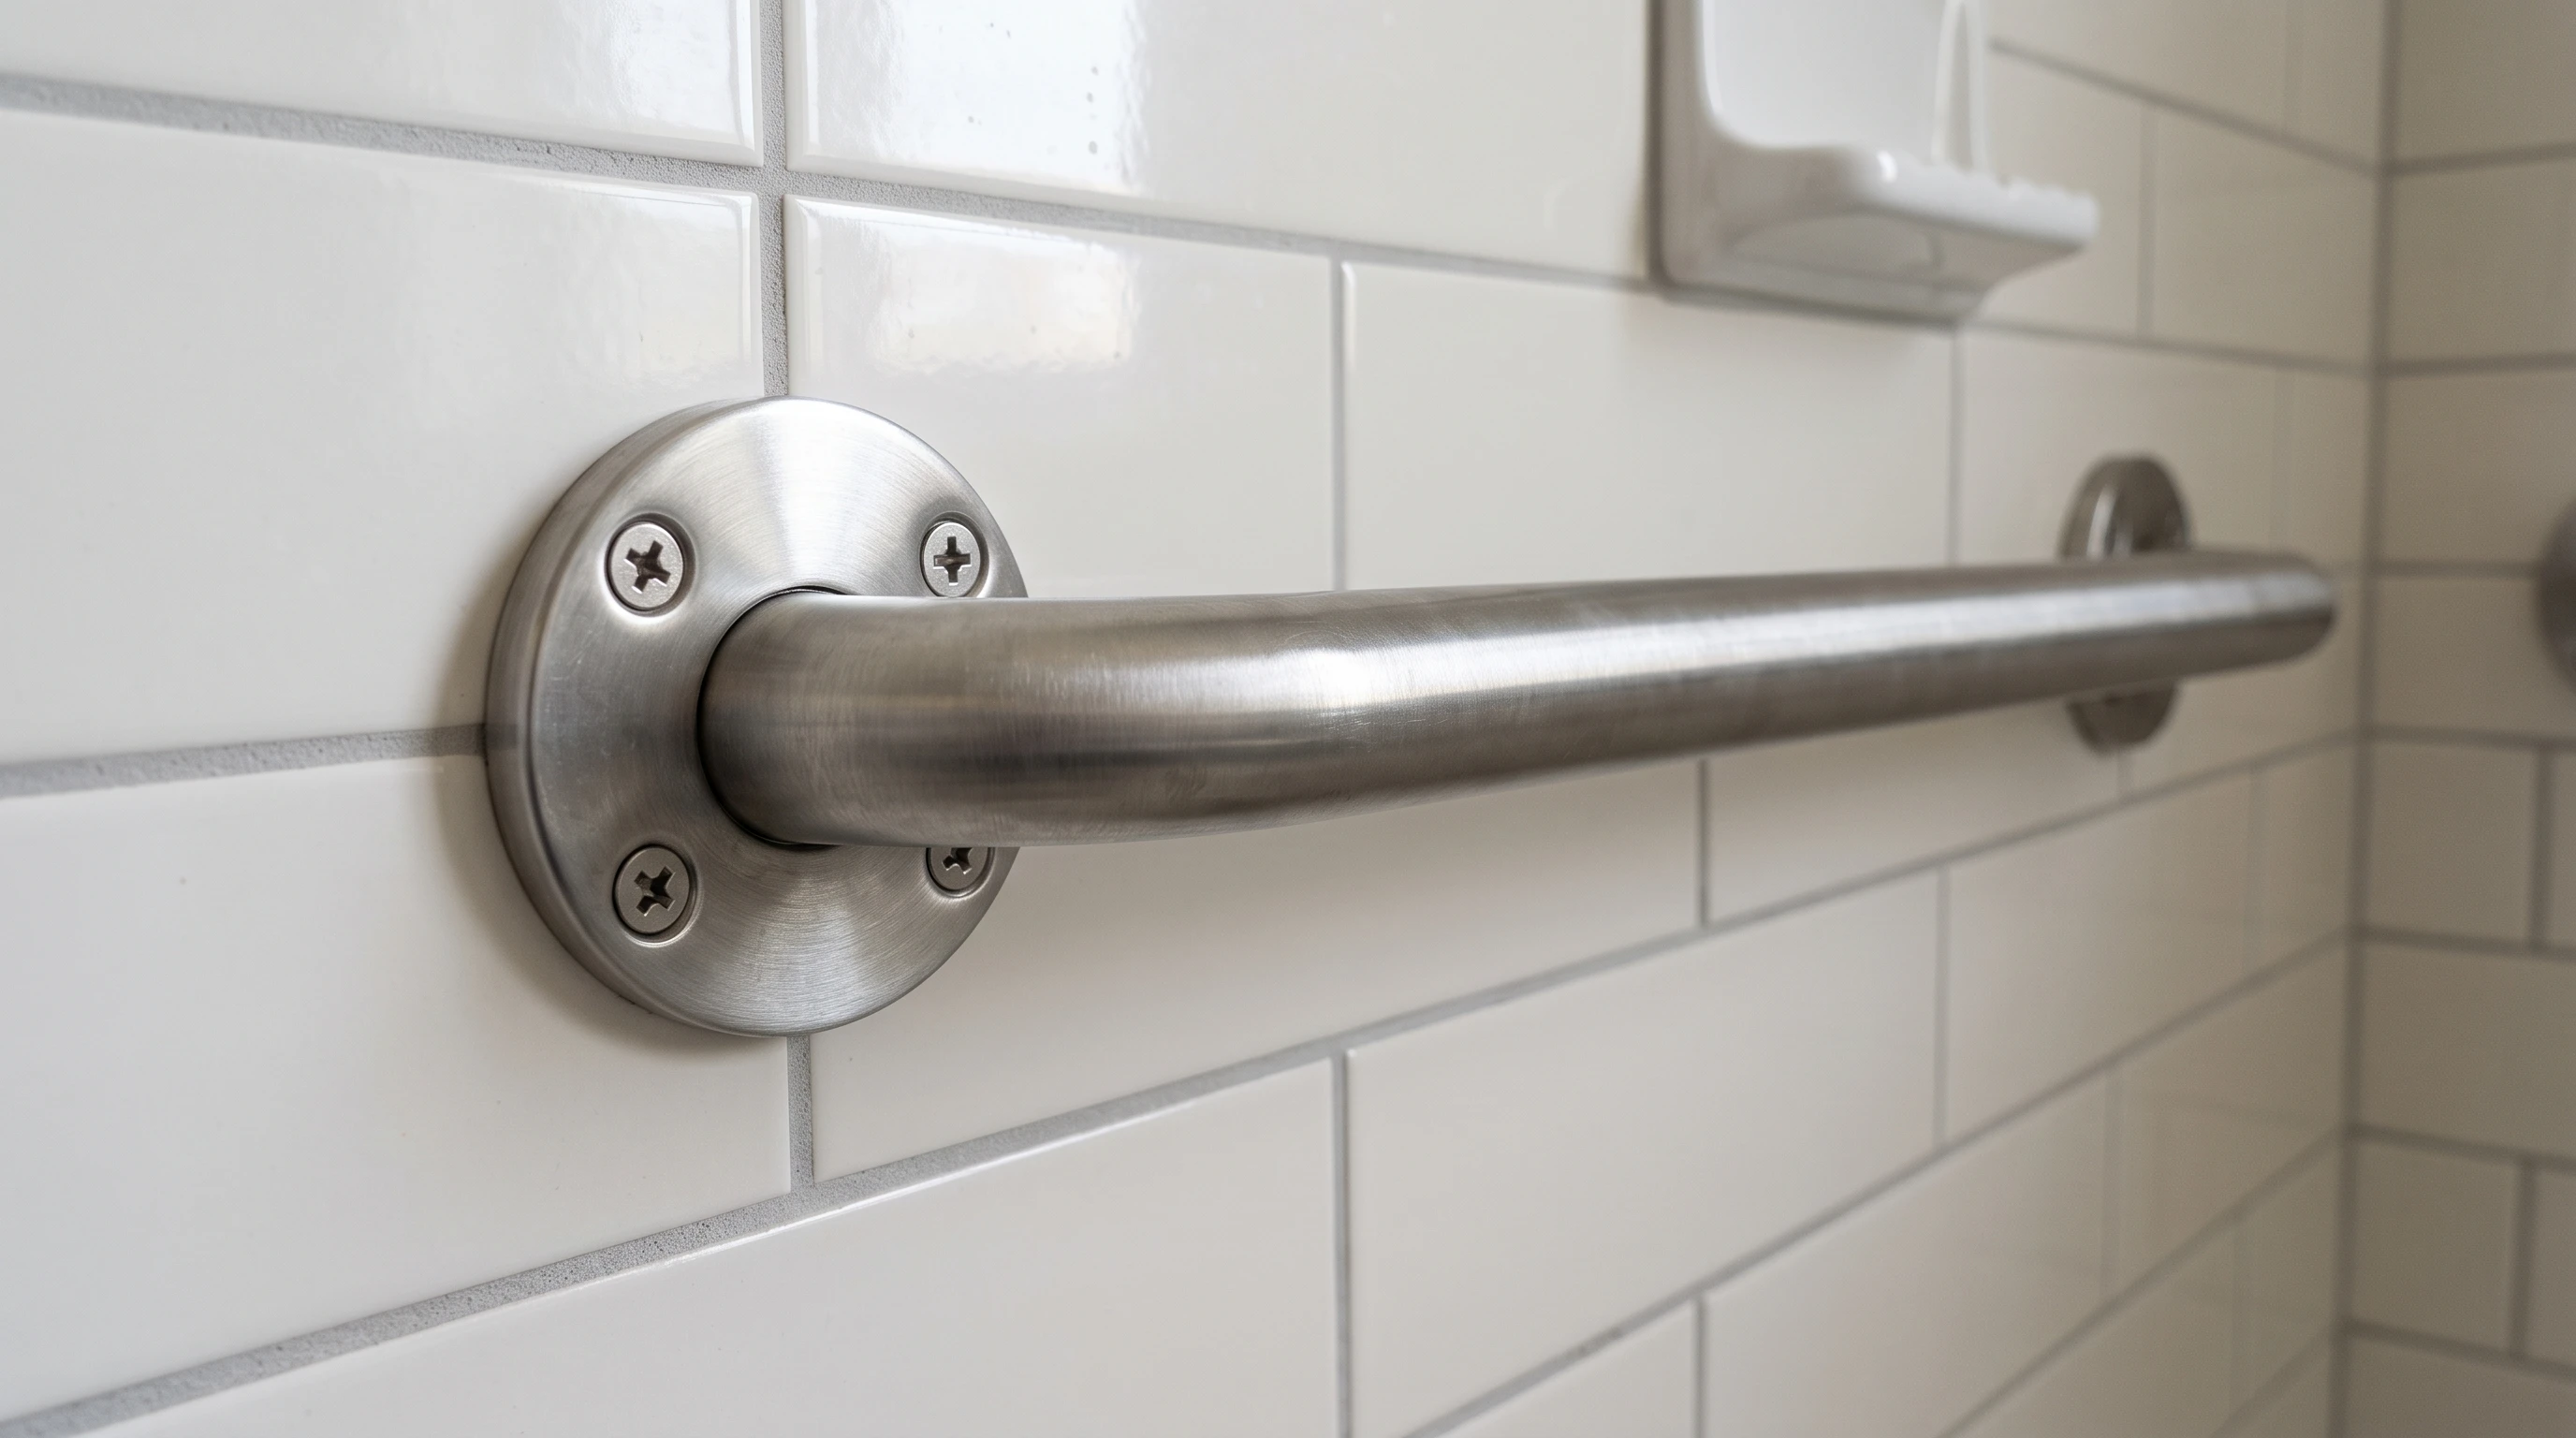
Grab bars are one of the simplest modifications you can install to help older adults maintain independence and steady footing at home. A grab bar isn’t just a metal rod on the wall.
When installed with care, it’s a real safety net that can make daily tasks easier and help prevent falls. Poorly installed bars can give a false sense of security, so getting the details right makes all the difference.
Proper grab bar installation can support confidence, steadiness, and aging in place goals, especially in bathrooms, hallways, and entryways where slips are more likely. Here’s how to approach grab bar installation using practical, evidence-based steps developed from decades of senior safety work.
Learning the ins and outs of proper placement, hardware selection, and safety checks can make a huge impact on household safety. For families supporting older loved ones, a well-placed grab bar is one of the simplest ways to track down peace of mind day to day.
Step 1: Identify High-Risk Areas For Grab Bars
Before you reach for the drill, take a thoughtful walk through the home. Grab bars work best when they’re installed where support is truly needed, not just where the walls look empty.
Spots Where Grab Bars Make The Most Sense:
- Shower and bathtub: Both inside and at the entrance, for stepping in, rising, and steadying during washing.
- Beside the toilet: Helps with sitting and standing.
- Along hallways: For extra support between rooms or near steps.
- Entryways: Where changing footwear or stepping up/down is required.
Always involve the person who will be using the grab bars in planning. If they use a walker or cane, think about where extra help would be useful. Family caregivers can ask where slips have nearly happened in the past, and physical or occupational therapists can also offer valuable advice. Sometimes, just asking, “Where have you felt unsteady recently?” can provide new insights that lead to smarter installation locations.
Step 2: Pick Safe, Easy To Hold Grab Bars
More grab bar choices exist today than ever before. Not all are safe for long-term support. Avoid plastic bars, towel bars, or suction cup styles for primary support. They’re not meant for sustained weight-bearing and can pull away from the wall during a slip.
What To Look For:
- Material: Stainless steel or heavyduty aluminum are both sturdy and resistant to rust.
- Grip: Textured or ribbed surfaces provide more traction for wet, soapy hands.
- Diameter: 1¼ to 1½ inches so hands can comfortably wrap around the bar.
- Length: At least 12 inches, but longer if space allows (18–36 inches for showers or baths is pretty common and helpful).
- Weight Rating: Should support at least 250–300 pounds for peace of mind.
- Mounting Hardware: Use only the manufacturer supplied screws; generic screws may not be strong enough.
If you’re not sure, look for ADA compliant grab bars and choose models that can be installed into wall studs. There are now grab bars that blend with décor, so style and safety don’t have to be at odds. Choosing the right finish that’s slip-resistant and matches other bathroom hardware makes for a polished look and reliable function.
Step 3: Plan Placement And Height Carefully
There’s no absolute “correct” height, so aim for a comfortable, reachable spot for the main user. Most people place horizontal grab bars between 33 and 36 inches from the floor, but it’s best to match the natural reach of the person using the space.
Have them stand in the tub or next to the toilet and mimic the act of sitting, rising, or stepping. Then mark where their hand naturally lands on the wall. This step is critical to making the bar truly functional in day-to-day routines.
Common Placement Tips:
- For tubs and showers: Place one horizontal bar along the long side wall, and a vertical or angled bar near the entry point for easier step in and out aid.
- For toilets: Add a bar on both the side and the back wall if possible. This offers options whether reaching sideways or behind.
- At steps or doorways: Install on the “pull side,” where hands are most likely to search for support.
Even small details like making sure there’s enough space around the bar for a full grip or ensuring the user won’t bump into other fixtures can make a big difference. Double-check that shower doors or towel holders won’t block access to the bar.
Step 4: Secure Grab Bars Into Studs Or Use Proper Anchors
Grab bars only work well if they stay solidly attached to the wall. Wall studs are the gold standard for mounting. Anchoring into drywall only is not safe; it won’t hold under weight when it counts most.
How To Find Wall Studs:
- Use a stud finder tool for accuracy.
- Studs are usually 16 inches apart behind most bathroom walls, but older homes may differ.
- If no stud is available, use wall anchors specifically rated for grab bars (toggle or winged anchors designed for heavyweight support).
Never use plastic drywall anchors, friction wall plugs, or glue on the main support bars. In tiled showers, drill carefully through the tile using a carbide or diamond bit to avoid cracks. Go slow; waterproof caulk around the screws can prevent leaks but never substitute for a solid wall fixing.
Author Experience: For example, in my years as a home modification specialist, I once helped a client whose bathroom had only drywall walls with no accessible studs near the shower entrance. Instead of skipping the grab bar, I sourced specialty toggle bolts rated for 400 pounds and added extra reinforcement behind the wall—this small change gave the client and their family true peace of mind. It’s worth spending the extra time to get it right.
Step 5: Double Check Alignment And Test Strength
Grab bars should be firmly level and tightly screwed in. Before final tightening, check their straightness using a level tool. Once all screws are in, pull hard on the bar to make sure nothing shifts. Even a tiny wiggle means it’s not ready yet. Some pros recommend testing with your full weight (or a helper’s) before letting the main user rely on it for daily support.
Use the hand over hand test. Slide your grip down the bar to check for sharp edges, loose covers, or tricky joints that might catch skin or make it hard to hold on. Clean up carefully to clear out any dust or debris before letting anyone use the space.
Common Mistakes People Make
- Mounting into only drywall or tile: Always find a stud or use heavyduty grab bar anchors if studs aren’t available.
- Using towel bars as grab bars: Towel bars break easily under real pressure.
- Installing at the wrong height: Bars placed too high or low make them tough to use when balance is needed most.
- Failing to test weight: Be sure the bar truly holds firm before counting on it in emergencies.
- Choosing the wrong finish: Smooth or glossy finishes may be too slippery for wet hands, so opt for a textured grip for added safety.
People often assume any bar on the wall works as a grab bar, but not all hardware is created equal. Checking product labels for ADA compliance and weight ratings helps ensure you’re making a good investment in future safety.
Simple Safety Improvements With Grab Bars
- Add a vertical bar just inside the shower or bathtub entrance for increased leverage during step in and step out.
- Pair toiletside grab bars with raised toilet seats to make rising easier.
- Consider L shaped bars for more support around corners (like in a tub or shower combo).
- Keep the area clutter free and dry to reduce tripping hazards around grab bars.
- Inform everyone in the house that these bars are meant for weight support, not as towel racks or shelves.
If you have family members visiting, be sure to point out the grab bars and remind them of their purpose. This turns a safety measure into a normal part of home use and reinforces good habits for everyone.
Questions To Review Before Installing
- Who will use the grab bars, and what are their height and mobility needs?
- Have medical, vision, and mobility concerns been reviewed with a healthcare provider or physical therapist?
- Do you need a professional installer for tricky wall surfaces, like tile or fiberglass?
- Is the grab bar ADA compliant and rated for the correct weight?
- Will the installed bars interfere with shower doors, toilet lids, or light switches?
Encouragement: Every Improvement Matters
Making homes safer for older adults doesn’t have to mean major renovations. Well placed grab bars are a great first step to reduce fall risks and encourage independence through all stages of aging. Small upgrades made now can help avoid injuries and keep loved ones thriving at home. Whenever in doubt about installation, don’t hesitate to reach out to a professional who specializes in accessible modifications.
- Check grab bars regularly for looseness and tighten or repair as needed.
- Keep communication open with family and healthcare providers about changing needs.
- Remember that prevention is a process. Every improvement, no matter the size, keeps seniors safer and more independent.
By taking the time to put proper grab bars in place, you’re making an investment in comfort and dignity, not just in safety. It’s one of those simple solutions that can keep a home welcoming for years to come.