
Performing a room-by-room home safety assessment is a practical way for families, especially those with seniors, to keep everyone safe and comfortable. Hazards change as people age, but a regular check of each area will catch small problems before they turn into big ones. The good news is that a lot of fixes are simple and affordable, and knowing what’s worth doing yourself versus when to call a pro makes the whole process smoother.
Why Regular Home Safety Assessments Matter for Senior Families
Aging brings its own set of challenges, like vision changes, slower reflexes, and less steady balance. What was safe ten years ago might not work as well now. Falls, in particular, are super important to prevent since they’re a top cause of injury for older adults according to the CDC. Taking a good look at each room makes adapting much easier as mobility or memory needs mix it up over time.
This isn’t about making things look clinical or overhauling the whole house at once. It’s about spotting everyday hazards early, doing what you can, and asking for help on the stuff that’s more complicated. As life evolves, the way we move through our homes should too. Making a habit of checking things every few months helps families stay ahead of problems and keeps loved ones feeling confident and at ease at home.
Easy, Affordable Fixes Anyone Can Do
Before jumping into major projects, it makes sense to check out the small upgrades you can handle on your own. These low-cost moves give you the biggest safety boost for the least effort or expense.
- Clear the Clutter: Shoes, magazines, or cables on the floor are tripping hazards. Clear walkways and keep things off the ground—this is totally a DIY task.
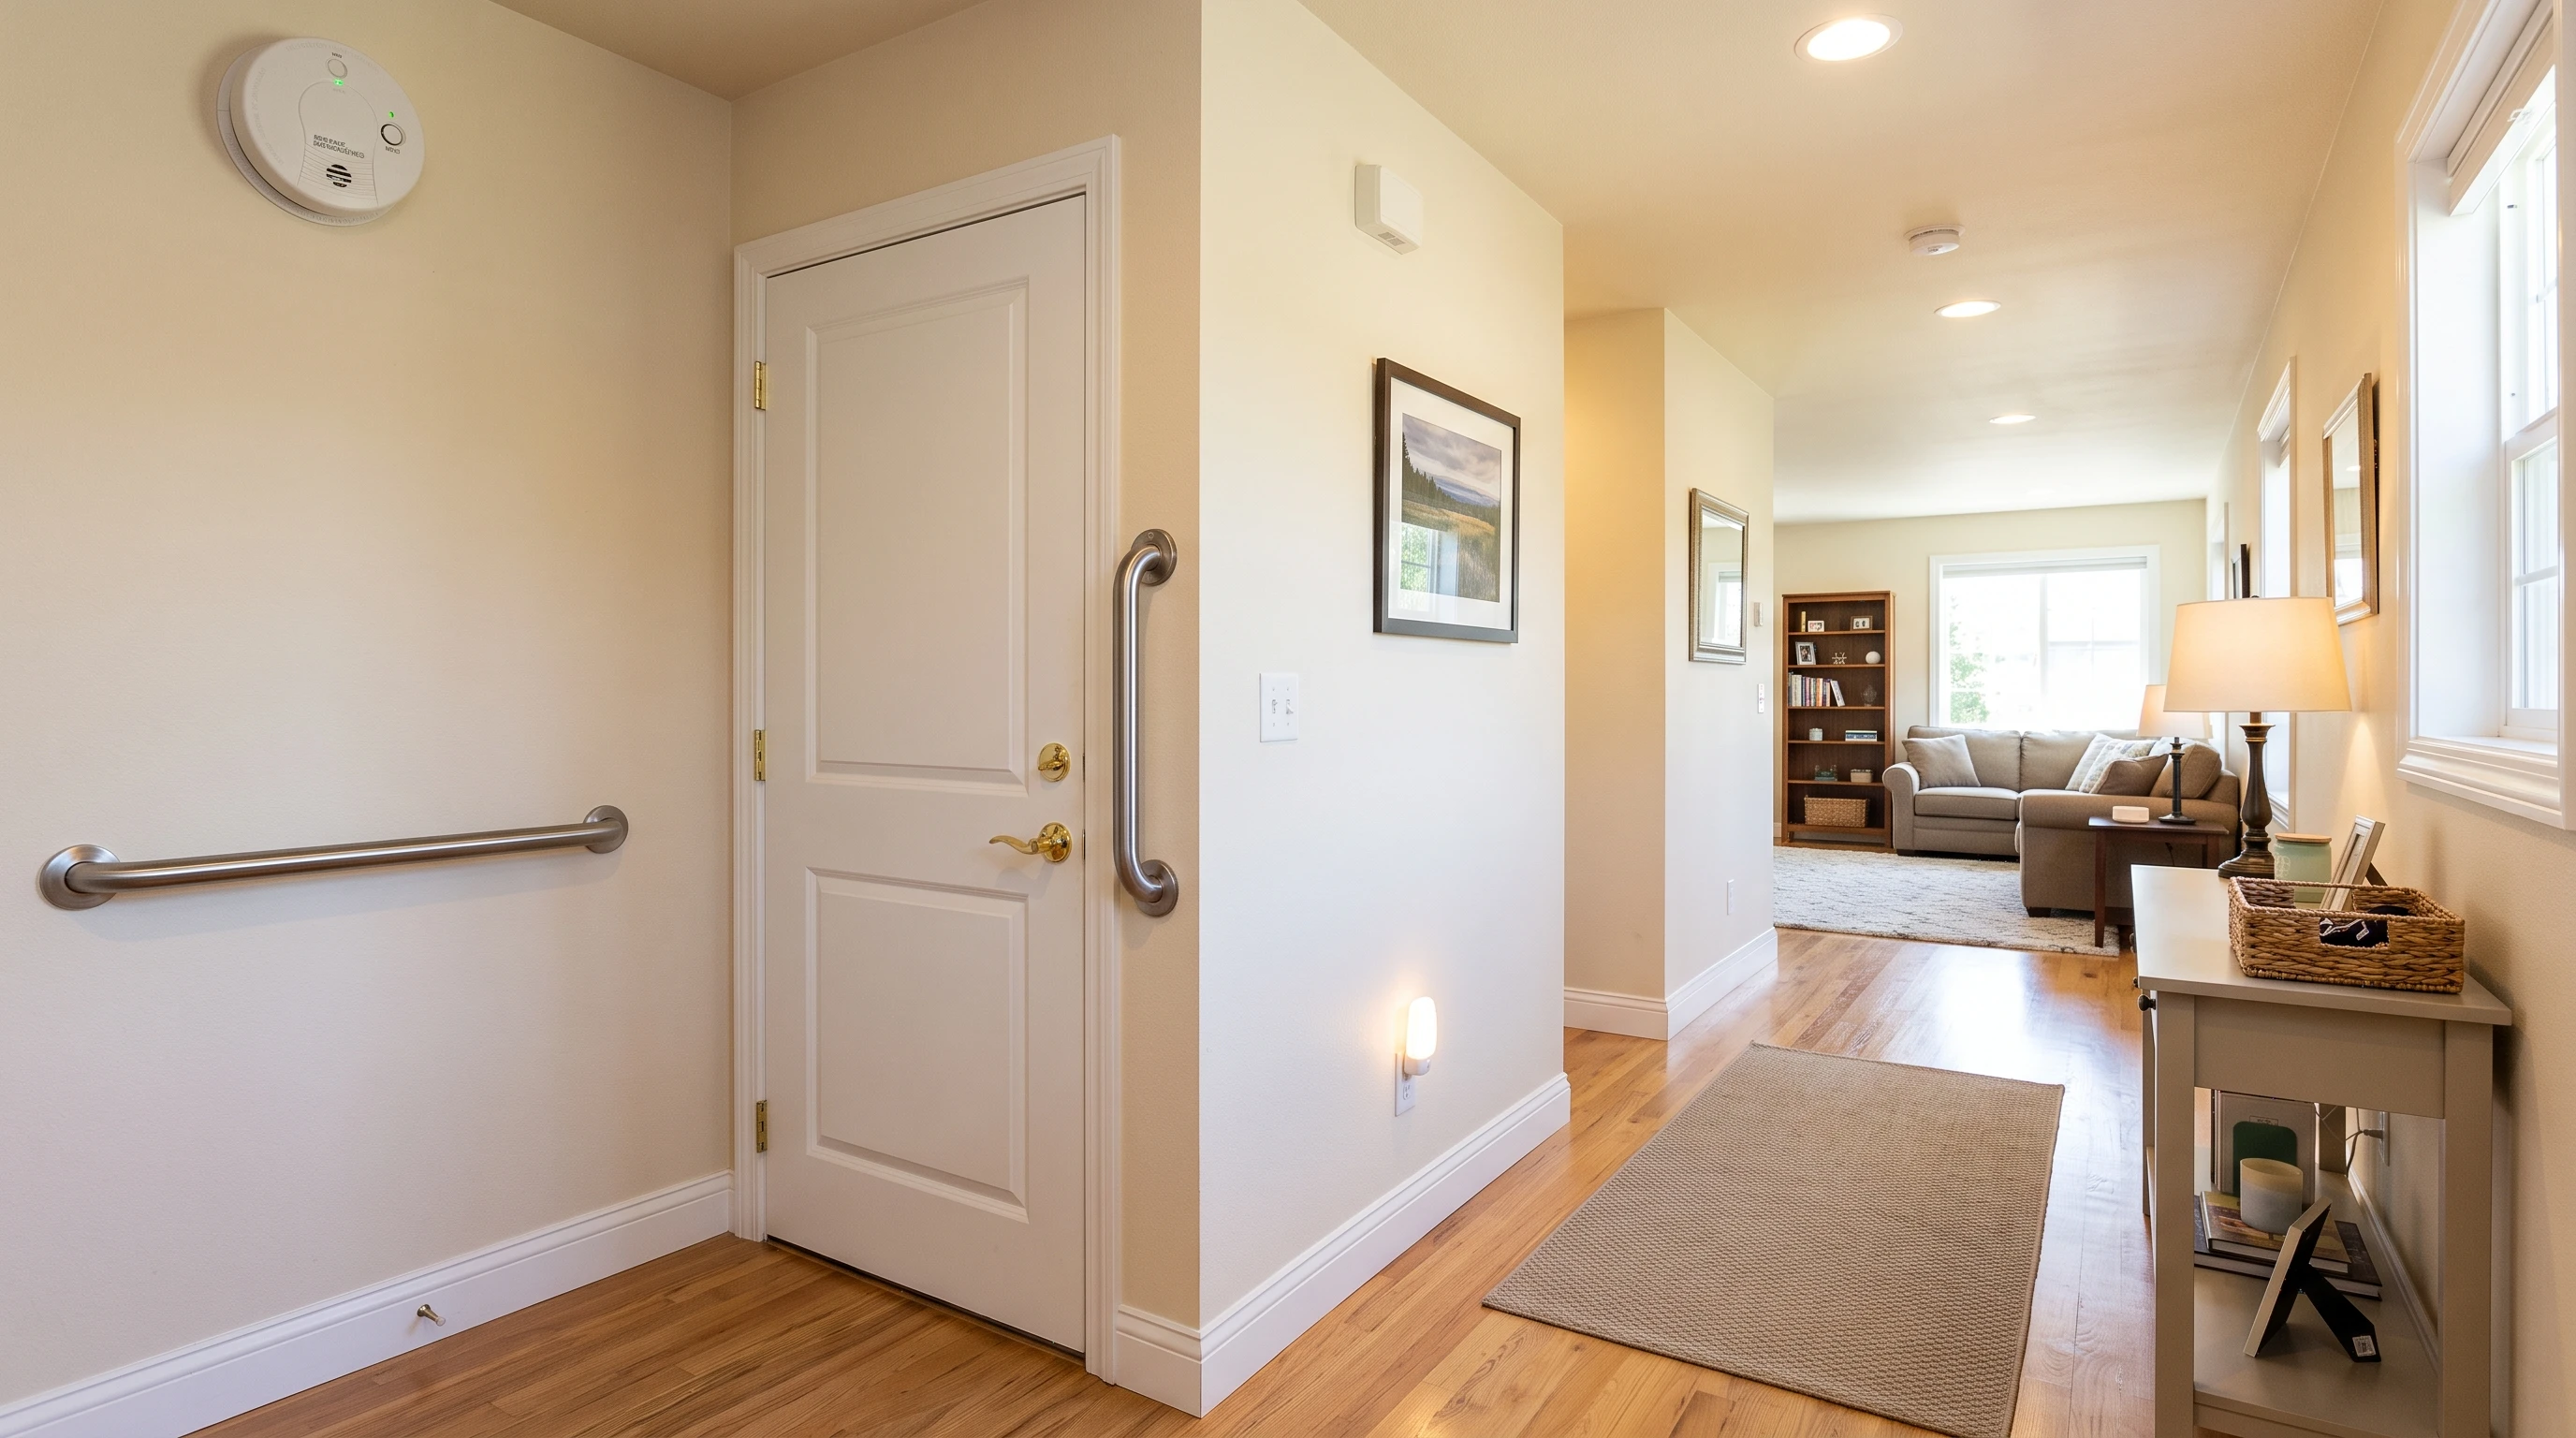
- Add Nightlights: Plug-in LED nightlights for halls, bathrooms, and bedrooms help everyone see at night. They’re really helpful for anyone prone to night-time bathroom trips.
- Secure Rugs and Mats: Rugs should have nonslip backings or mats underneath. Consider removing loose or thick throw rugs entirely.
- Fix Loose Handrails: Give railings a shake to test them. For wobbly rails, you might need a handyman for a permanent fix, but tightening screws is often easy to do yourself.
- Install Grab Bars: Grab bars in the bathroom by the shower and toilet are great for balance. There are many sturdy suction options, but professional installation is the most secure.
- Adjust Lighting: Swap dim bulbs for brighter LED versions to boost visibility without spending a fortune.
- Organize Cabinets: Place often-used items within easy reach—between hip and eye level—to reduce risky bending or climbing.
- Check Smoke and CO Detectors: Change batteries twice a year and test monthly. Most families can handle this unless there are high ceilings.
- Update Emergency Information: Post emergency contacts and medication lists on the fridge in large print. This helps first responders and family members during emergencies.
Room-by-Room Assessment Guide
An effective assessment means walking every space as if you’re seeing it for the first time. Here’s how I like to break it down, along with some go-to tips for each area.
Entryways and Hallways
- Doormats: Pick thin, nonslip mats.
- Thresholds: Watch for uneven spots or high thresholds. Small rubber threshold ramps are handy and easy to lay yourself.
- Stairs: Keep steps clear, add nonslip tread strips, and make sure there’s solid lighting at both ends. Fixing loose carpeting or installing a second handrail may be jobs for a pro.
Living Room
- Furniture Placement: Arrange chairs and sofas so there’s plenty of room to walk. Corner tables are best with rounded edges or edge bumpers.
- Electronics Cords: Tape down or tuck away cables. Cord covers are cheap and quick to install.
- Seating Height: Choose chairs that aren’t too low. Chair lifts or risers are simple to add if mobility is becoming a concern.
Kitchen
- Floor Surfaces: Clean up spills right away to avoid slicks.
- Fire Safety: Have a small fire extinguisher mounted within reach and check the expiration regularly.
- Cabinet Organization: Heavy pots and daily dishes should go at waist level. Step stools should be sturdy with hand grips. If you’re unsteady, swapping to lower shelves or installing pulldown shelves is wise, but those projects may need pro help.
- Appliance Safety: Mark off-stove burner controls with bright stickers, or use knob covers if memory issues pop up.
Bathroom
- Nonslip Mats: Put these inside and just outside the tub and shower.
- Grab Bars: These really help with standing and moving safely. Wall mounted grab bars are best installed by a professional, especially if drywall anchors are needed.
- Raised Toilet Seats: DIY snap-on models exist, or a plumber can install more permanent risers.
- Showers: Consider a handheld showerhead, which is easy to install. If stepping into a tub is hard, a pro can help convert a tub to a walkin shower.
Bedroom
- Path to Bathroom: Avoid furniture or piles of clothes in this path. Nightlights here are super useful.
- Bed Height: The bed should be easy to get in and out of. Bed risers or lower bed frames can help, and these are often easy to swap out yourself.
- Accessible Phone: Keep a phone within reach of the bed for emergencies. A landline or seniorfriendly cell phone is a smart move.
Basement, Garage, and Utility Areas
- Lighting: Add bright motionactivated lights, especially near stairs and workbenches.
- Storage: Tools, paint, and chemicals should be stored off the floor and away from walkways. Heavier storage racks or wall mounting might need a handyman.
- Water Heater and Furnace: Keep a clear area around these and schedule annual checks by professionals.
Tackling Higher-Cost or Complex Upgrades
While plenty of fixes are simple, some upgrades are worth checking into as needs grow. These may need a bigger investment, contractor, or handyman:
- Ramps or Chair Lifts: For stepless access, portable ramps work fine for a couple steps and are often DIY. For more steps or if someone uses a wheelchair, you’ll want a professional for ramps or stair lifts.
- Bathroom Remodels: Converting tubs to walkin showers, installing wall mounted shower seats, or ADAheight toilets should be handled professionally.
- Smart Home Devices: Video doorbells, smart locks, and motion sensors are DIYfriendly if you’re comfortable with apps and WiFi. Otherwise, some electronics stores or handymen set these up.
- Widening Doorways: Sometimes needed for walkers or wheelchairs. This almost always takes a contractor, but it opens up options for aging in place.
Checklist: When to DIY and When to Call a Pro
I like to take a balanced approach—fix the small stuff on my own and call in professional help as needed. Here’s a handy guideline:
- Good for DIY: Plugin nightlights, antislip treads, swapping lightbulbs, decluttering, organizing cabinets, using tub mats.
- Probably Needs a Pro: Installing new outlets in high places, full shower and tub conversions, electrical rewiring, structural changes, installing grab bars into tile or drywall.
Building a Habit: Why Regular Updates Matter
It’s easy to set and forget when it comes to safety upgrades, but aging is a moving target. Medications, mobility, and eyesight can all switch up in a year. Doing an assessment a couple of times a year, after hospital stays, or when health needs change helps everyone stay ahead of problems. Involve everyone living in the home and check that fixes are still working as planned.
If you like a checklist, there are printable home safety lists from the CDC and aginginplace organizations that walk through every room. I’ve found a pen-and-paper walkthrough keeps me from missing anything important. For those heavier projects, getting a quick home safety audit from an occupational therapist is smart—many insurance plans cover it.
Common Questions About Home Safety Assessments
How often should families check for home hazards?
Doing a full walkthrough every six months, or after there’s a big change in health or mobility, is usually enough. Seasonal checks, especially checking for ice or storm-related hazards, are smart too.
What are the most important fixes to start with?
Focus first on fall hazards like loose carpets, poor lighting, and clutter. These are easy to improve and make a quick difference.
What about emergency prep?
Keep fire extinguishers and alarms up to date. Double-check that emergency exits are clear, and make sure there are spare keys and clear address numbers outside for help to arrive quickly if needed.
Are there resources to help cover costs?
Certain home modifications may be covered by insurance, Veterans Affairs, or local senior programs. Town aging offices often have lists of grants or trusted contractors willing to help.
Wrapping Up: Keeping Safety Up To Date
Going room by room, focusing on the most likely hazards, and getting everyone involved can really give a boost to confidence for families with aging loved ones. Regular checks, a mix of easy and professional fixes, and a habit of updating as life changes keep homes safer and more comfortable for years to come.